DTF Transfer Temperature and Time: Heat Press Settings Guide
11/16/2026
DTF Transfer Temperature and Time at a Glance
Wrong heat press settings ruin DTF transfers faster than any printer fault ever will. A ten-degree overshoot yellows a white polyester tee. 그만큼 DTF transfer temperature and timewindow is narrow, so it pays to dial it in once, write it down, and reuse it for every fabric you run.
Published specifications from film and transfer suppliers cluster tightly: 130–160 °C (266–320 °F), 8–15 seconds, medium-firm pressure. That band is a starting map, not an answer sheet — fabric finish, film type, and press calibration all move the numbers. This guide turns the band into per-fabric settings you can lock into a production SOP.
주요 시사점
Standard starting point: 150–160 °C (300–320 °F) for 10–15 seconds at medium-firm pressure on cotton.
Polyester runs 10 °C cooler than cotton to avoid dye migration and scorching.
Pressure is the least-measured variable and the most common cause of wash failure.
A second press of 10–15 seconds measurably improves wash fastness.
Your film supplier’s spec sheet overrides any generic guide, including this one.
What Each Heat Press Variable Does
Three variables decide whether the adhesive powder on your film melts, flows into the fabric, and stays there. Change one and you often have to change the others.
Temperature melts the adhesive
The hot-melt adhesive layer activates within a defined range, typically 130–160 °C depending on the film. Below the range the powder never fully melts, so the print sits on the surface and lifts. Above it you risk scorching light fabrics and distorting synthetic fibers.
Time drives penetration
Dwell time gives the melted adhesive time to wick into the fiber structure. Eight to fifteen seconds covers most films. Longer is not safer — extended dwell on polyester invites dye migration, where the garment’s dye bleeds into the white ink layer.
Pressure creates contact
Pressure forces the molten adhesive into even contact with the fabric weave. Uneven pressure shows up as glossy or matte patches across one transfer, and as edge lifting weeks later. This is the variable shops guess at most and measure least.
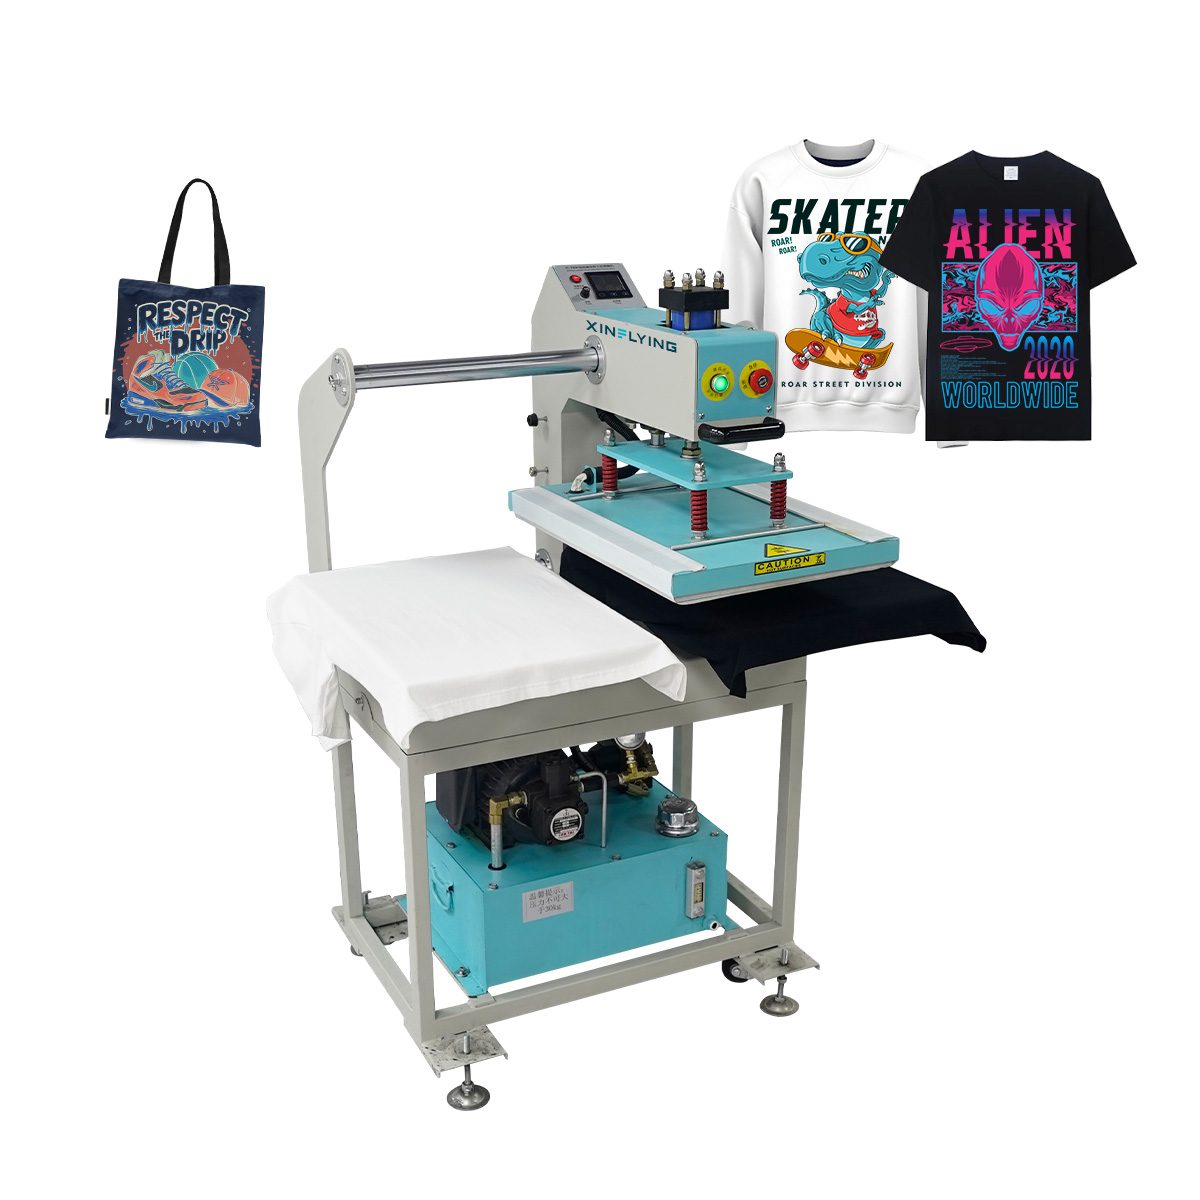
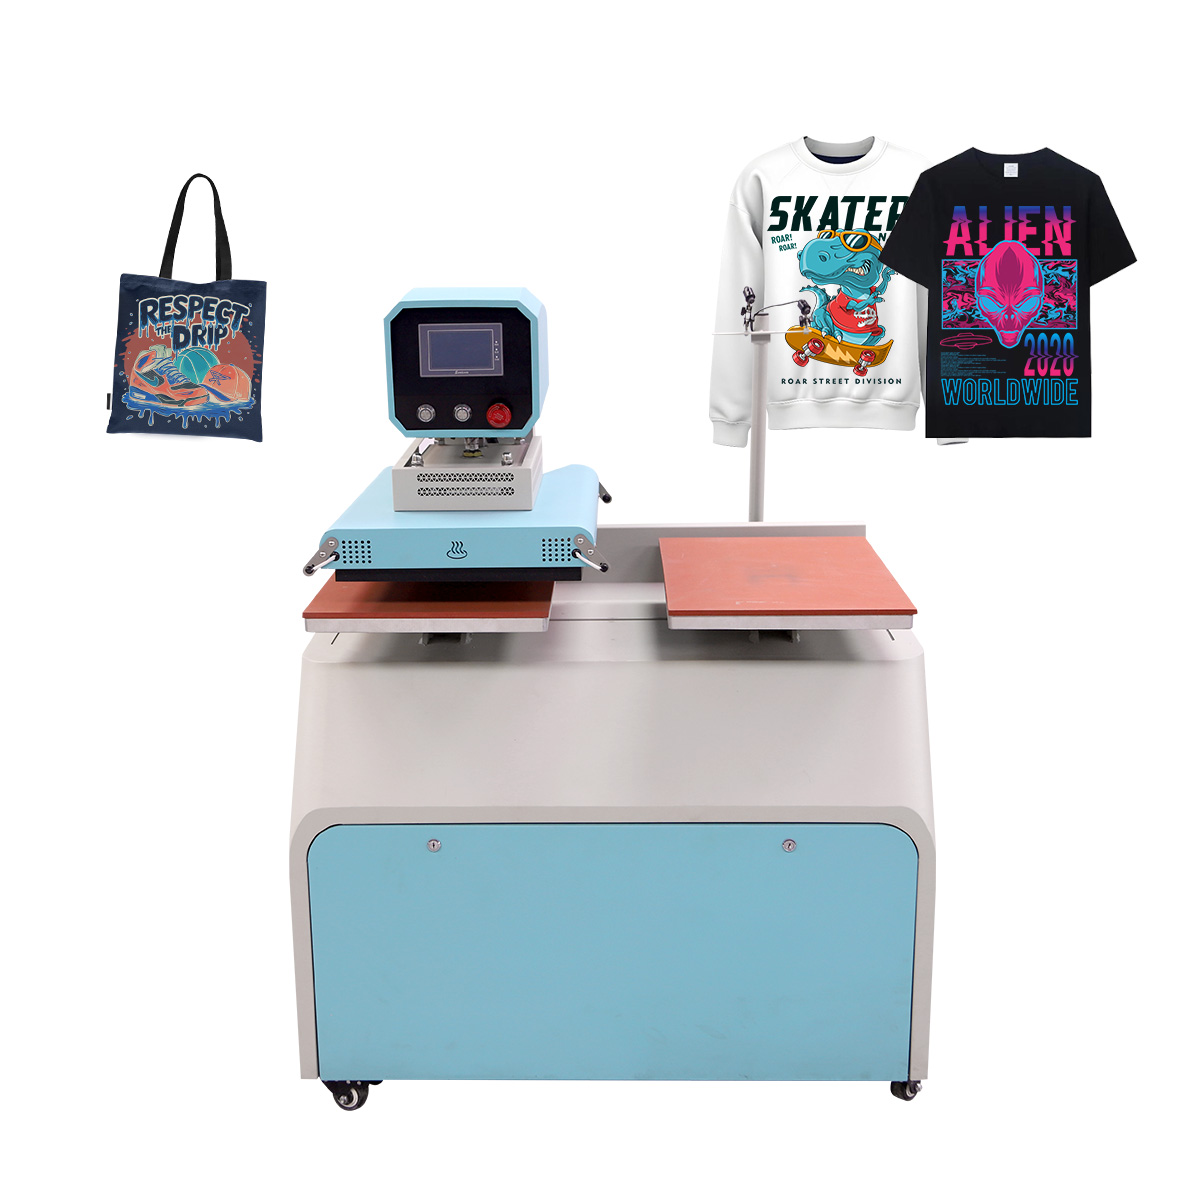
Sizing a press for DTF production?XINFLYING suppliesheat press equipmentalongside its DTF printers and consumables, with film, 잉크, and powder made in the same factory — so the full consumable chain is matched to one process window. See heat press options and request a quote.
Prepare the Garment Before Pressing
What happens before the transfer goes on decides half the outcome. Two preparation steps separate shops with consistent adhesion from shops chasing mystery failures:
Pre-press the garment for 3–5 seconds.Cotton ships with mill moisture and pressing-room humidity locked into the fibers. Steam it out first, or that moisture turns to vapor under the transfer and blocks adhesive contact in random patches.
Lint-roll every garment.A single cotton fiber under the edge of a transfer is enough to seed a lift point that grows with every wash cycle.
Position away from seams and zippers.Raised seams create pressure shadows — areas where the platen never fully contacts the film. Use a pillow or pad insert for hoodies and pockets.
None of these steps appears on a spec sheet, and none of them costs a setting change. They cost eleven seconds per garment, which is why production shops write them into the press card instead of leaving them to operator habit.
Recommended Settings by Fabric Type
Start from the film maker’s spec sheet, then adjust for the garment. The table below merges published supplier ranges into working starting points for the fabrics apparel decorators run most.
구조
온도
시간
압력
Watch Out For
100% 면
150–160 °C (300–320 °F)
10–15 s
Medium-firm
Moisture in cotton — pre-press 5 s to remove humidity
100% 폴리에스테르
140–150 °C (284–302 °F)
8–12 s
중간
Dye migration — shorter dwell, avoid high heat
Cotton-poly blend
145–155 °C (293–311 °F)
10–12 s
Medium-firm
Split the difference; test both peel timings
Stretch and performance fabrics
140–150 °C (284–302 °F)
8–10 s
중간
Over-pressing kills stretch — check elasticity after a test press
Water-repellent or coated finishes
Per test
Per test
Medium-firm
Coatings block adhesion — always run a test garment first
Treat every number here as a starting point for a test press, never as a final production setting. Garments with stretch or water-repellent finishes behave unpredictably enough thatprinter manufacturers explicitly advise testing before production runs. The reason cotton sits at the top of the temperature band is structural: its fiber weave is coarser than polyester’s, so the adhesive needs slightly more heat and dwell to penetrate fully — and more preparation, as covered above.
How to Set Pressure Correctly
Most press gauges read low, 중간, and high — which tells you almost nothing. Medium-firm for DTF means the closed platen grips the garment firmly and the transfer shows full, even contact with no gloss patches. A practical check: close the press on a blank transfer for the full dwell time. An even matte finish across the whole image means pressure is right.
Two failure patterns point straight at pressure. If the design transfers but releases at the edges after one wash, pressure was too light for the weave. If light fabrics scorch without the temperature reading being high, excess pressure is compressing and over-heating the contact zone — reduce pressure before you reduce temperature.
This is also why DTF needs a commercial-grade press. Hand irons and craft presses cannot hold even, heavy pressure across a platen, so the adhesive bonds only where contact happened to be firm. A clamshell or pneumatic press sized to your transfer width is not an upgrade; it is the entry requirement. For continuous production, 안 automatic double-station hydraulic heat transfer machineholds consistent pressure across back-to-back cycles while one garment loads as the other presses.
Hot Peel or Cold Peel Timing
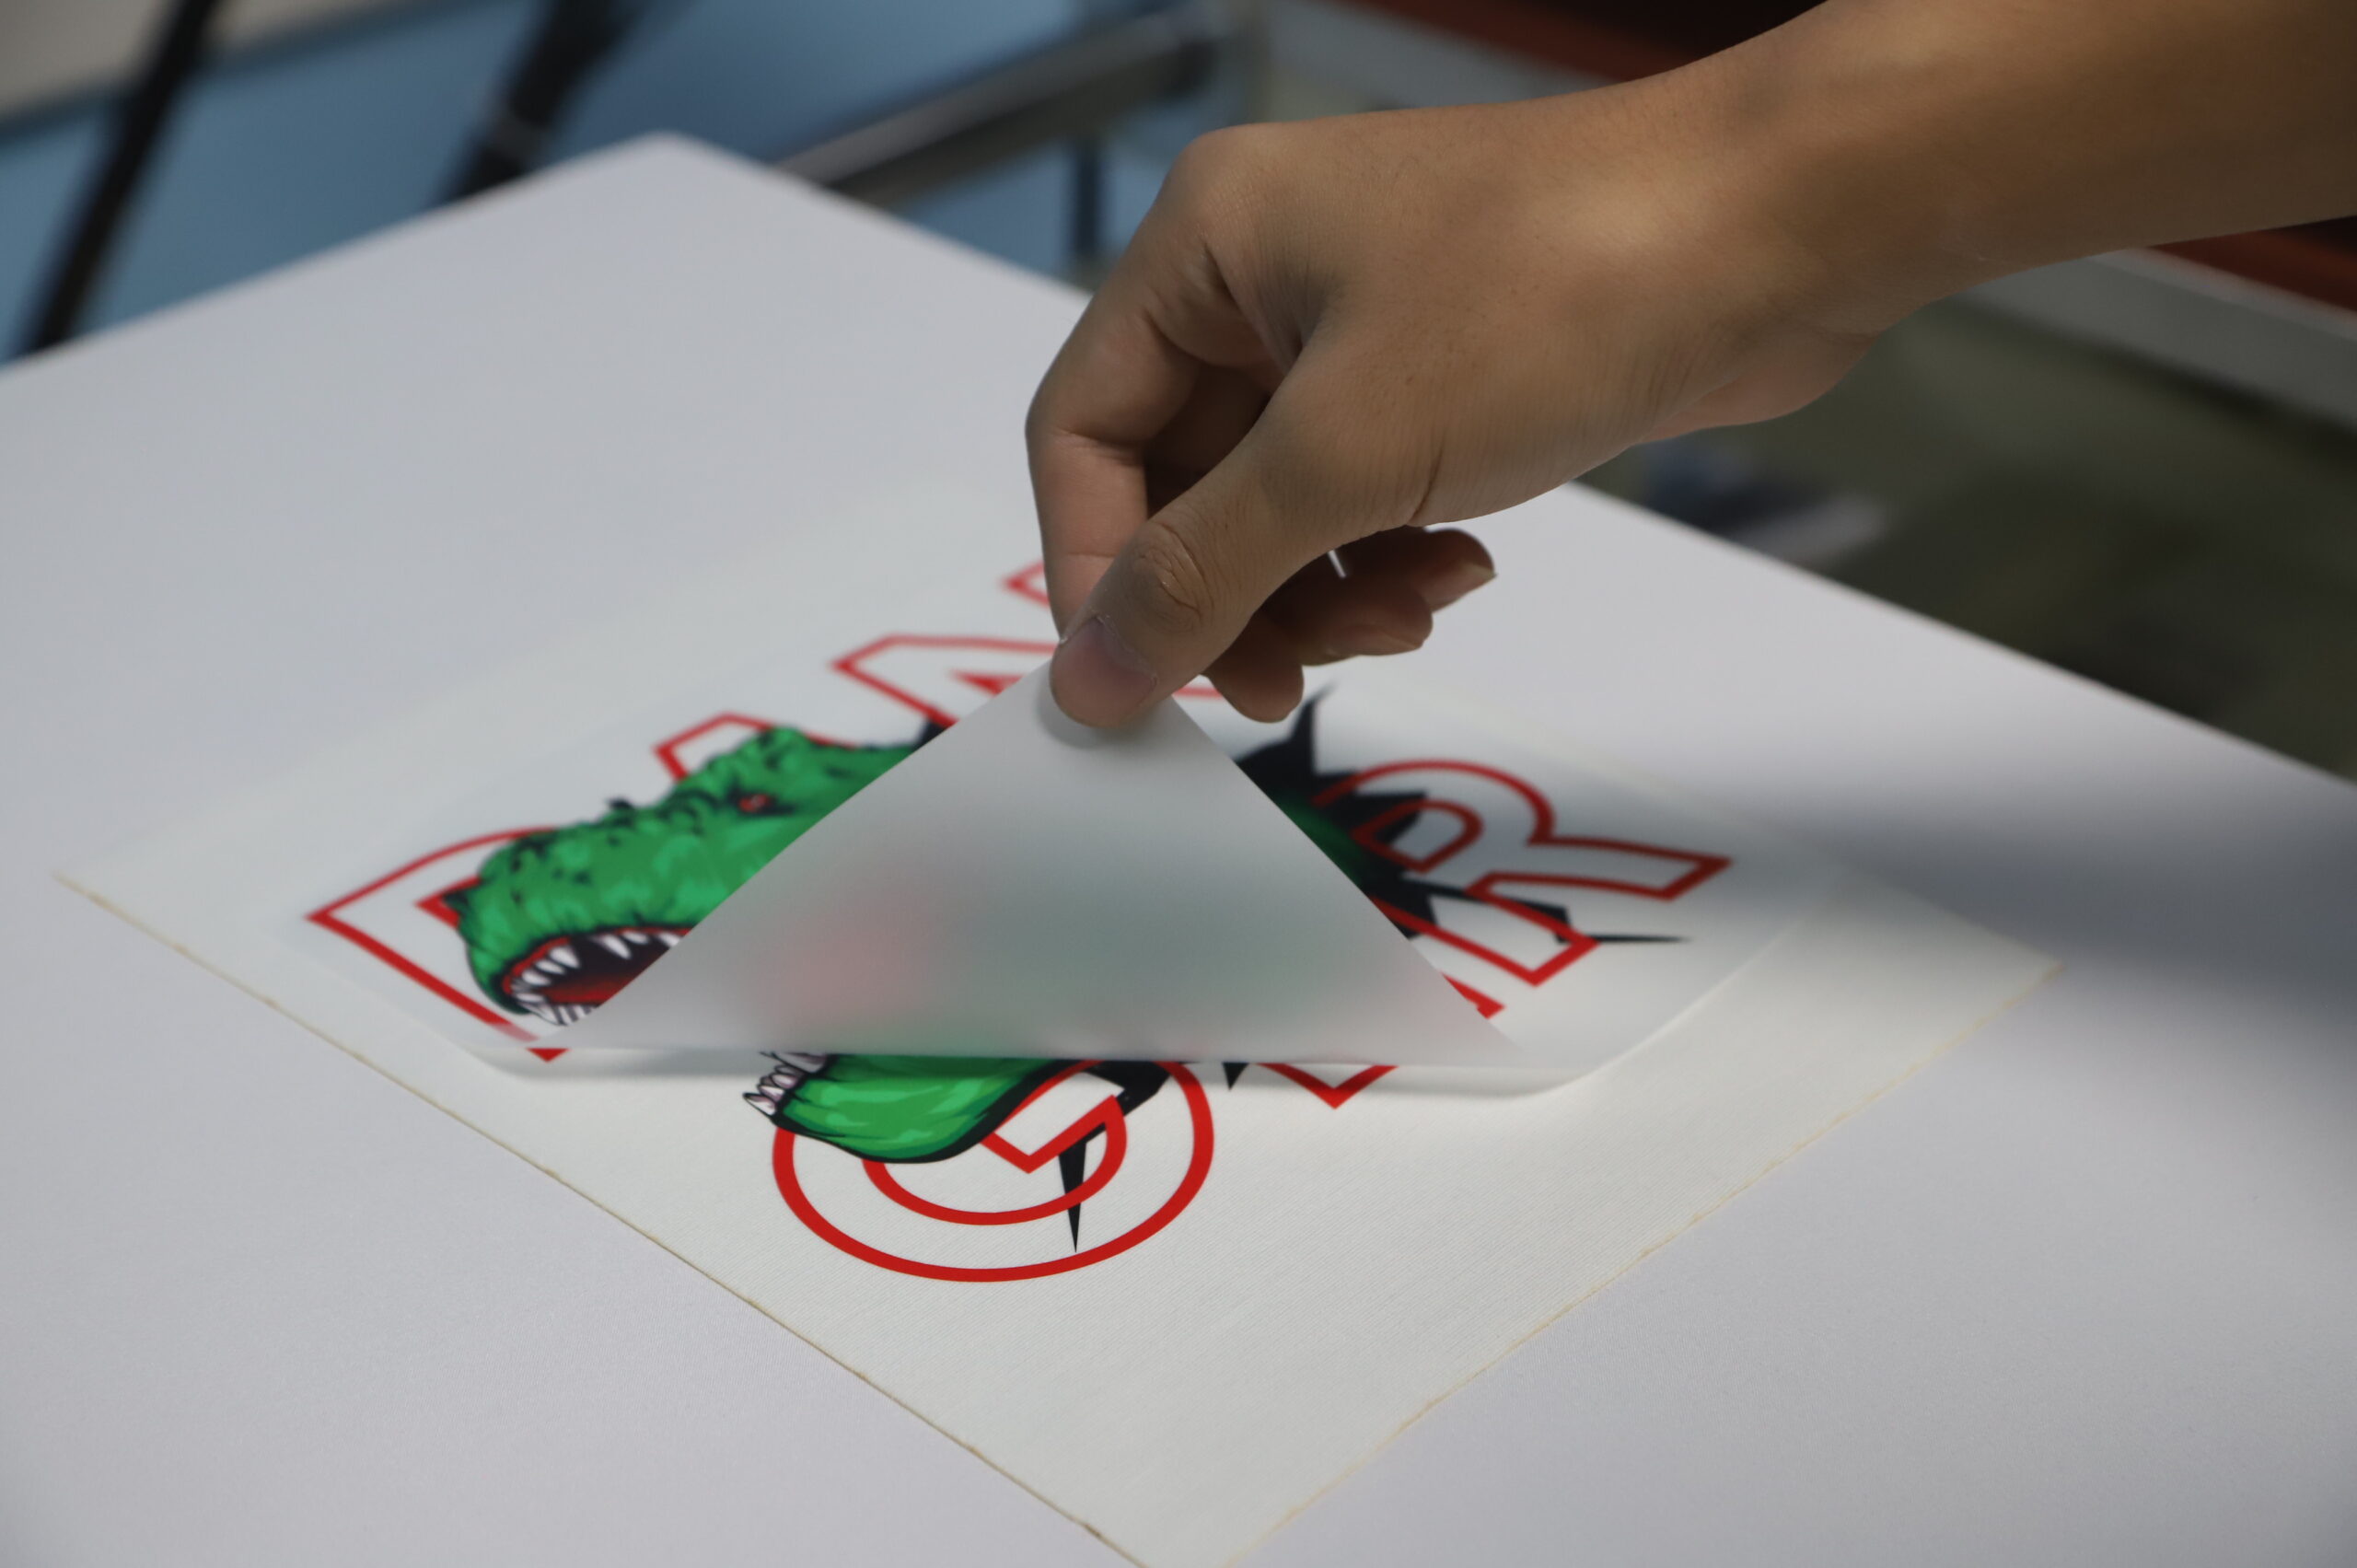
When you peel is a fourth setting, and it is decided by your film, not your preference. Hot-peel film releases within seconds of opening the press — peel it warm, in one smooth motion. Cold-peel film must cool to room temperature first; peeling early tears the ink layer off with the film.
If you cannot remember which film is loaded, run a small test print and try a warm peel. If the image lifts unevenly, it is cold-peel film — let it cool fully and press the next piece. We break down the coating differences, throughput trade-offs, and wash results in the dedicatedhot peel vs cold peel comparison.
Why the Second Press Matters
After peeling, cover the transfer with parchment or a cover sheet and press again for 10–15 seconds. The second press flattens the adhesive layer into the fabric and closes the micro-gaps left by peeling, which is why transfer suppliers that publish wash procedures almost universally include it.
The payoff shows up in weeks, not seconds: transfers that survive repeated washing without edge lift. For shops shipping orders to retailers, the second press is insurance against the most common customer complaint in garment decoration.
Cover sheet material matters here. Parchment paper works for one-off runs; a silicone or PTFE cover sheet stands up to all-day production and will not stick to the adhesive. Whichever you use, keep it flat and replace it once it shows transfer residue — residue prints back onto the next garment.
Troubleshooting Common Heat Press Failures
Most DTF pressing failures trace back to one variable drifting out of range. Match the symptom, then correct the setting in the smallest step that works.
Symptom
가능한 원인
Correction
Transfer will not stick at all
Temperature below adhesive range
Raise in 10 °C steps; verify with a surface thermometer
Edges lift after first wash
Pressure too light for the weave
Increase one pressure step; keep dwell the same
Light fabric yellows or scorches
Heat too high or dwell too long
Reduce pressure first, then drop temperature 5–10 °C
White ink turns pink or grey
Dye migration on polyester
Lower temperature, shorten dwell to 8–10 s
Design cracks after a few washes
Under-cure or missing second press
Confirm full dwell; add the 10–15 s second press
If two corrections do not solve it, the problem is upstream of the press — cured film quality, powder coverage, or ink laydown. 그만큼 DTF printing process guidecovers where each of those faults originates.
Two habits keep troubleshooting honest. 첫 번째, change one variable at a time — if you move temperature and pressure together, you learn nothing about which one fixed it. 두번째, verify the platen with a surface thermometer or infrared gun before trusting the dial: presses drift with age, and a dial reading of 150 °C can deliver 140 °C at the edges, which is exactly where transfers start lifting. For failures that only appear after washing — cracking, 페이딩, edge lift — theDTF washing instructions guidemaps each symptom back to its pressing cause.
Locking Settings Into a Production SOP
Settings drift when they live in one operator’s head. Test-press every new garment batch — same fabric name from a different mill means different finish chemistry — and re-verify the whole card after any press maintenance, because a recalibrated platen shifts every number on it. A one-page press card per fabric stops the drift:
매개변수
What to Record
Why It Matters
외피
구조, weight, mill, 마치다
Finish chemistry changes adhesion more than fabric name does
소모품
Film type and batch, 가루, ink set
Isolates whether a failure is settings or materials
Press settings
온도, dwell, pressure step
Reproduces the result across operators and shifts
Peel and second press
Hot or cold, wait time, second press yes/no
Peel timing is a setting, not a preference
환경
Room humidity, date verified
Humid days change how cotton behaves under heat
Shops running matched film, 잉크, and powder from one supplier shorten this loop — a single process window covers the whole consumable chain instead of three separate spec sheets. That consistency is the working argument for sourcing the full line from one factory rather than patching brands together.
결론
DTF pressing is a three-variable problem with a narrow window: temperature melts the adhesive, time drives penetration, pressure creates contact — and peel timing plus a second press decide whether the result survives the wash. Get the window wrong and the failure appears two weeks later in your customer’s laundry.
Start at 150–160 °C, 10–15 seconds, medium-firm pressure on cotton; run polyester 10 °C cooler.
Fix pressure before touching temperature when light fabrics scorch.
Always add the 10–15 second second press before orders ship.
Your film supplier’s spec sheet is the final authority on any number in this guide.
When you are ready to standardize the whole chain — press, 영화, 잉크, and powder from one production line —신플라잉builds the complete DTF production range in one factory. Start with theDTF printer and consumables categoriesand request a quote with your fabric list.
DTF Heat Press Settings FAQ
How long do I heat press a DTF transfer?
Standard dwell is 10–15 seconds on cotton and 8–12 seconds on polyester. Lighter and stretch fabrics sit at the short end. Always confirm against your film supplier’s spec sheet.
What temperature do you press DTF transfers?
150–160 °C (300–320 °F) for cotton and cotton-rich blends; 140–150 °C (284–302 °F) for polyester to prevent dye migration. Start mid-range and adjust in 5–10 °C steps.
What pressure should I use for DTF transfers?
Medium-firm: the closed platen grips the garment firmly and a blank test press shows an even matte finish across the whole image. Uneven gloss or matte patches mean pressure needs correcting before anything else.
Can I apply DTF transfers with a home iron or craft press?
아니요. DTF adhesive needs even, heavy pressure across the full image area, which hand irons and craft presses cannot hold. Use a commercial clamshell or pneumatic heat press sized to your transfer width.
Why is my DTF transfer not sticking after washing?
Three usual causes: temperature below the adhesive range, pressure too light for the fabric weave, or the film peeled at the wrong moment. Correct in that order, and add the 10–15 second second press before shipping.
마커스 웹은 9+ 다년간의 디지털 의류 프린팅 실무 경험, DTF를 중심으로, DTG, 및 UV 인쇄
기술. 북미 소재, 그가 도와줬어 3000+ 인쇄소, 맞춤 의류 브랜드, 그리고 중소기업 오너들
미국 전역. 캐나다와 올바른 인쇄 장비를 선택하고 생산 작업 흐름을 최적화합니다..
신플라잉에 합류하기 전, Marcus는 상업용 인쇄 작업의 기술 컨설턴트로 일했습니다., 그는 다양한 가격대와 생산 규모에 걸쳐 수십 개의 DTF 프린터 모델을 테스트하고 평가했습니다..
그의 리뷰는 실제 테스트를 기반으로 합니다., 인쇄 품질 벤치마크, 총소유비용 분석
사양 시트.
"올바른 DTF 프린터가 귀하의 비즈니스를 변화시킬 수 있습니다. 내 임무는 마케팅 소음을 차단하고 귀하가 찾을 수 있도록 돕는 것입니다.
실제로 작동하는 장비."
— 마커스 웹