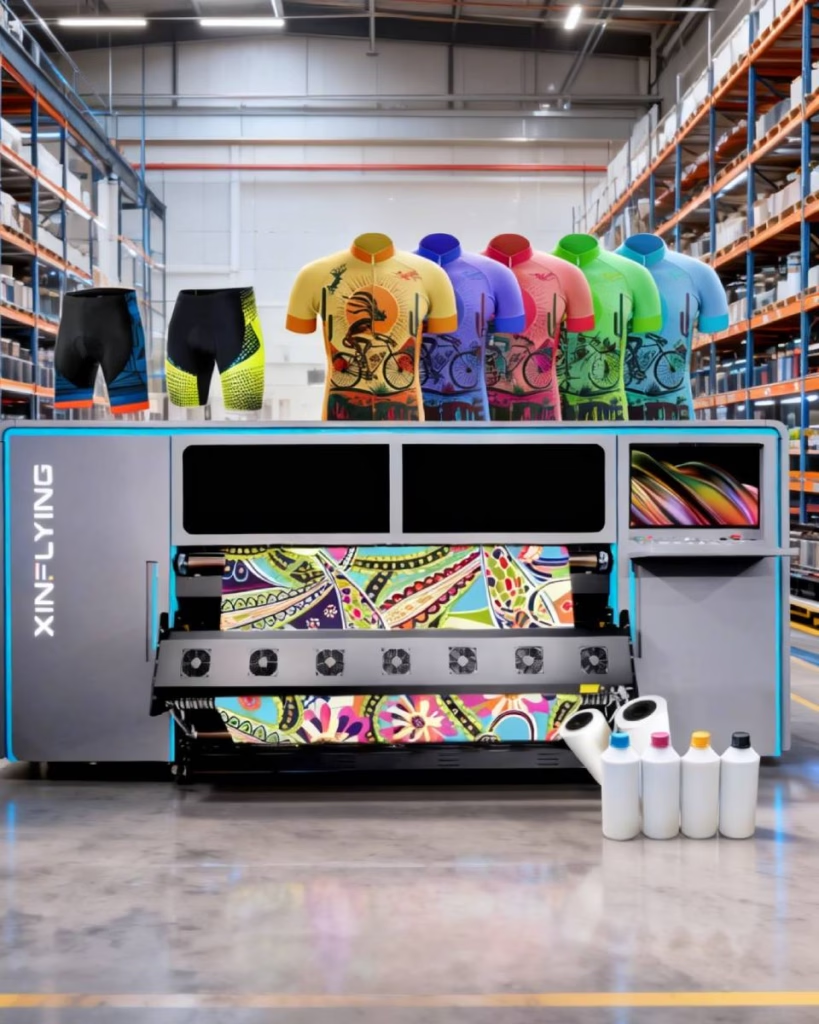
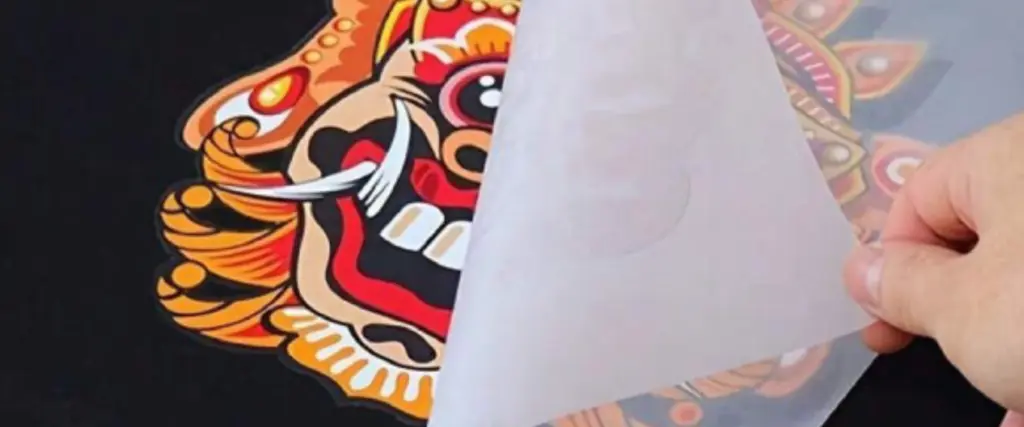
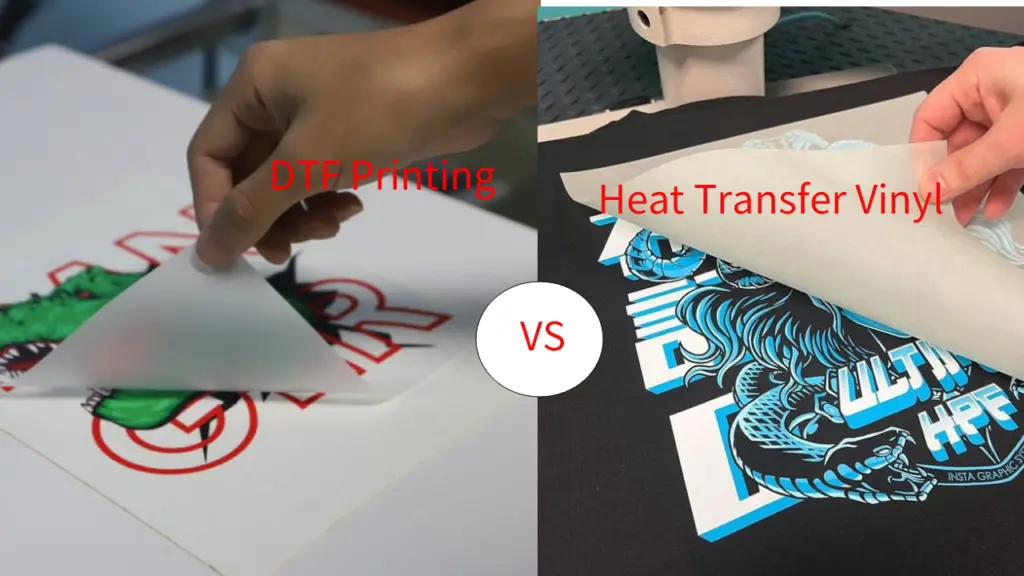
DTF-överföringar har vunnit enorm popularitet i tryckeribranschen, revolutionerar hur design och bilder överförs till plagg. En avgörande aspekt för att uppnå felfria DTF-utskrifter är processen med värmepressning. I denna omfattande guide, vi kommer att fördjupa oss i världen av DTF-överföringar och ge dig ett steg-för-steg-sätt för att veta hur man värmepressar en DTF-överföring.
Vad är DTF-överföringar?
DTF-överföringar, eller Direkt-till-film-överföringar, är en banbrytande utskriftsmetod som erbjuder många fördelar jämfört med traditionella tekniker. Till skillnad från andra metoder, DTF-överföringar använder en specialiserad överföringsfilm som innehåller både bläck och lim, möjliggör levande och långvariga utskrifter. Denna process säkerställer att färgerna förblir levande, Även efter flera tvättar, och bilden förblir intakt utan att spricka eller blekna.
Hur man trycker direkt till filmöverföringar?
1. Välja rätt material

För att ge dig ut på din resa med värmepressande DTF-överföringar, det är avgörande att ha rätt material till hands. Först och främst, du behöver DTF-överföringspapper, som kommer i olika former, såsom transparent, vit, och lim. Dessa papper spelar en viktig roll för att överföra designen till plagget. Dessutom, det finns flera tillbehör du behöver, inklusive DTF -limpulver, värmepressmaskin och DTF bläck, som underlättar smidig och effektiv värmepressning behandla.
2. Förbereder designen
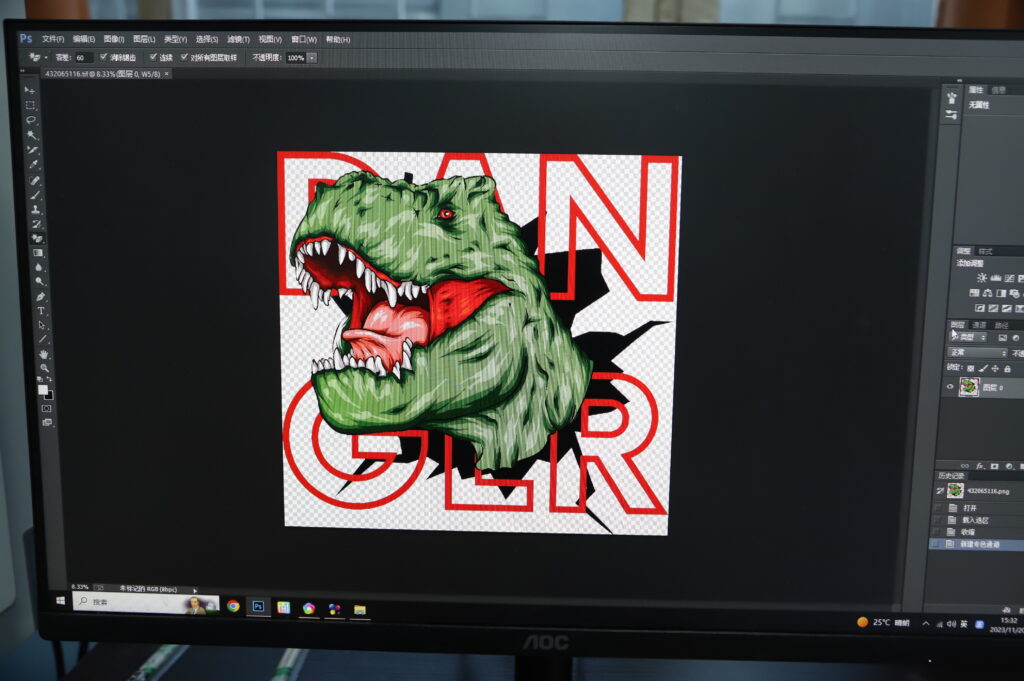
Innan du kan börja värmepressa, det är viktigt att skapa eller välja en design som är lämplig för DTF-överföringar. Använd din kreativitet för att designa unika och fängslande bilder som kommer att lämna ett bestående intryck. Se till att designen är kompatibel med DTF-utskrift och överför den till överföringspapperet med en högkvalitativ skrivare. Analysera designen noggrant för eventuella brister eller förvrängningar som kan hindra resultatet.
3. Förbereder plagget

För att uppnå en felfri DTF-överföring, noggrann förberedelse av plagget är nyckeln. Börja med att rengöra plagget noggrant för att ta bort eventuell smuts, damm, eller skräp som kan hindra vidhäftningsprocessen. Se till att plagget är pressat och platt, eftersom eventuella veck eller veck kan påverka slutresultatet negativt. Att stryka plagget innan värmepressning kan bidra till att skapa en slät och jämn yta som främjar optimal överföring.
4. Skriver ut överföringen

Nu när din design är klar och plagget är förberett, det är dags att påbörja DTF-utskriftsprocessen. Börja med att noggrant kalibrera färgerna för att säkerställa önskat resultat. Justera skrivarinställningarna så att de matchar kraven för DTF-överföringar. Beroende på skrivare och DTF-överföringspapper begagnad, du kan behöva välja ett specifikt utskriftsläge eller papperstyp för att optimera resultatet. Experiment är nyckeln till att hitta de perfekta inställningarna för din specifika kombination av skrivare och överföringspapper.
5. Torkning och härdning
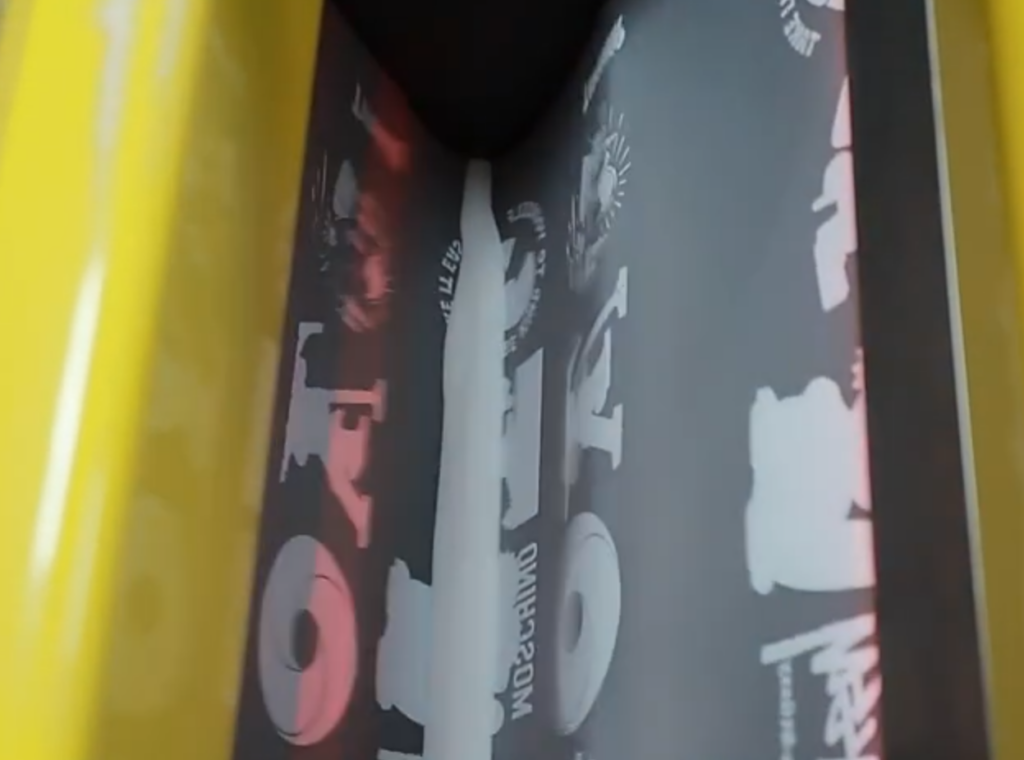
Efter att DTF-överföringen har skrivits ut, det är viktigt att torka och härda den överförda bilden ordentligt. Detta steg säkerställer utskriftens livslängd och hållbarhet. Olika metoder kan användas för torkning och härdning, inklusive lufttorkning, med hjälp av en värmepressmaskin, eller med användning av en professionell härdningskammare. Vilken metod du än väljer, det är absolut nödvändigt att följa tillverkarens instruktioner och riktlinjer för att uppnå optimal vidhäftning och hållbar kvalitet.
6. Förbereda värmepressmaskinen

Tack vare värmepressen spelar maskinen en avgörande roll vid värmepressning som överförs DTF till plaggen, du bör leta efter en pålitlig och kunnig tillverkare av värmepressmaskiner att ta en konsultation och få en värmepressmaskin. Att korrekt justera maskininställningarna är avgörande för att uppnå anmärkningsvärda resultat. Ta dig tid att bekanta dig med värmepressmaskinens kontroller och inställningar, såsom tid, temperatur, och tryck. Dessa variabler kan avsevärt påverka det slutliga resultatet av överföringen, så se till att de är noggrant kalibrerade för dina specifika krav.
7. Värmepressning DTF Transfer

Nu när allt är förberett, det är dags att dyka in i värmepressningsprocessen. Placera plagget med den tryckta DTF-transfern på värmepressmaskinen, se till att det är korrekt placerat. Applicera lämplig temperatur, tid, och tryckinställningar, enligt specifikationerna för transferpapper och plagg. Stäng försiktigt värmepressen, se till att överföringsfilmen är i direkt kontakt med plagget. Låt maskinen slutföra pressningen, och ta försiktigt bort det överförda plagget.
8. Efterpressning och efterbehandling
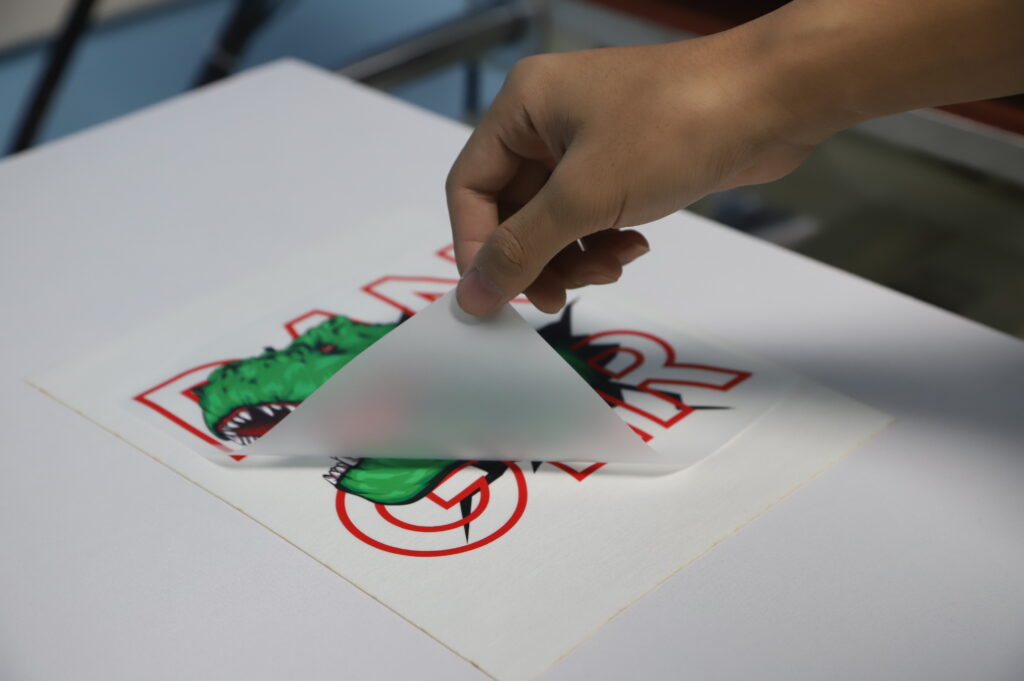
När värmepressningen är klar, det är viktigt att följa de lämpliga efterpressningsstegen för att förbättra utseendet och livslängden på det DTF-tryckta plagget. Börja med att försiktigt dra av överföringsfilmen, se till att den överförda bilden förblir intakt. Rengör det överförda plagget för att ta bort eventuella rester eller överflödigt bläck med ett skonsamt rengöringsmedel. Slutligen, överväg att ytterligare förbättra utskriftens utseende och hållbarhet genom att använda ytterligare efterbehandlingstekniker som att applicera en skyddande beläggning eller använda en värmepressmaskin för en andra härdningsprocess.
Vanliga frågor om vanliga problem
1. Varför fäster inte mina DTF-överföringar ordentligt under värmepressning?
Felsökning av vidhäftningsproblem med DTF-överföringar under värmepressning kan tillskrivas flera faktorer. Se till att ytan är ren och fri från smuts, oljor, eller skräp som kan hindra vidhäftning. Också, förpressa plagg för att ta bort fukt och rynkor. Justera temperaturen, tryck, och pressningstid enligt överföringens specifikationer. Slutligen, om du använder ett färgat basskikt, säkerställa korrekt härdning eller kompatibilitet med överföringsfilmen, eftersom felaktiga kombinationer kan leda till vidhäftningsproblem.
2. Hur kan jag förhindra att färger blöder eller smutsar efter värmepressning av DTF-överföringar?
För att undvika färgblödning eller smutsproblem efter värmepressning överförs DTF, se till att transferfilmen och den tryckta sidan av transfern är i direkt kontakt under pressningen, förhindrar alla rörelser. Justera trycket, temperatur, och pressningstid enligt överföringsspecifikationer. Om färgerna fortfarande blöder, överväg att minska trycket eller öka presstiden. Komma ihåg, Att använda överföringsfilmer av hög kvalitet och noggrant följa tillverkarens instruktioner kan avsevärt minimera färgblödning eller fläckar.
3. Mina DTF-överföringar verkar bleka eller saknar livlighet efter värmepressning; hur kan jag förbättra detta?
Om DTF-överföringar verkar bleka eller saknar livlighet efter värmepressning, överväg att justera temperaturen och presstiden. Att höja temperaturen något eller förlänga presstiden med några sekunder kan förbättra färgens livfullhet. Dessutom, se till att överföringsfilmen är lämplig för substratet och överföringsprocessen. Följ filmtillverkarens instruktioner noggrant, inklusive rekommenderade temperaturintervall och presstider, kan resultera i livfulla och långvariga överföringar.
4. Hur kan jag förhindra bildförvrängning eller suddighet på mina DTF-överföringar under värmepressning?
För att förhindra bildförvrängning eller suddighet på DTF-överföringar, se till att både överföringsfilmen och substratet är korrekt inriktade innan värmepressning. Använd registreringsmärken eller inriktningsguider för att bibehålla exakt positionering. Undvik överdriven rörelse eller förskjutning när du placerar överföringsfilmen. Att öka trycket under pressningen kan också bidra till att förhindra rörelse, vilket resulterar i skarpa och distorsionsfria överföringar.
5. Varför finns det ränder eller linjer synliga på mina DTF-överföringar efter värmepressning?
Sträckor eller linjer på DTF-överföringar efter värmepressning kan indikera otillräckligt tryck eller närvaro av skräp på substratet. Se till att underlaget är rent och fritt från partiklar som kan orsaka ränder. Överväg att öka trycket under pressningen, säkerställer korrekt kontakt mellan överföringsfilmen och substratet. Att experimentera med olika tryckinställningar kan hjälpa till att eliminera streck och förbättra den övergripande kvaliteten på den överförda bilden.
6. Vad ska jag göra om min DTF överför skal eller spricka efter värmepressning?
Avskalning eller sprickbildning av DTF-överföringar efter värmepressning kan bero på otillräcklig presstid eller temperatur. Se till att värmepressmaskinen når det rekommenderade temperaturintervallet som anges för överföringsfilmen. Justera presstiden därefter, följa tillverkarens riktlinjer. Dessutom, dubbelkontrollera överföringsfilmens och substratets kompatibilitet, se till att de är lämpliga för varandra. Korrekt härdning genom tillräcklig värme och tryck är avgörande för att förhindra problem med flagning eller sprickbildning.
Slutsats
Att bemästra konsten att värmepressa DTF-överföringar kräver en omfattande förståelse av processen och rätt material och tekniker. Genom att följa denna steg-för-steg-guide, du kan låsa upp obegränsade möjligheter och uppnå anmärkningsvärda resultat i en värld av DTF-överföringsutskrift. Omfamna din kreativitet, experimentera med olika tillvägagångssätt, och ständigt förbättra dina färdigheter för att frigöra din verkliga potential inom området för DTF-överföringar. Tveka inte längre – dyk in och låt din fantasi sväva!


