DTF transfers have gained immense popularity in the printing industry, revolutionizing the way designs and images are transferred onto garments. One crucial aspect of achieving flawless DTF prints is the process of heat pressing. In this comprehensive guide, we will delve into the world of DTF transfers and provide you with a step-by-step approach to knowing how to heat press a DTF transfer.
What are DTF Transfers?
DTF transfers, or Direct-to-Film transfers, are a cutting-edge printing method that offers numerous advantages over traditional techniques. Unlike other methods, DTF transfers utilize a specialized transfer film that contains both the ink and adhesive, allowing for vibrant and long-lasting prints. This process ensures that the colors remain vivid, even after multiple washes, and the image remains intact without any cracking or fading.
How to press direct to film transfers?
1. Choosing the Right Materials
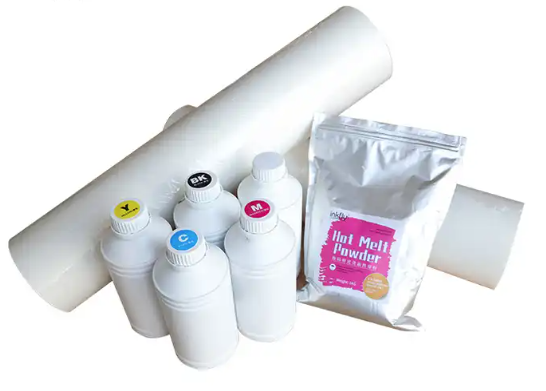
To embark on your journey of heat-pressing DTF transfers, it is crucial to have the right materials at hand. First and foremost, you will need DTF transfer paper, which comes in various forms such as transparent, white, and adhesive. These papers play a vital role in transferring the design onto the garment. Additionally, there are several accessories you’ll require, including DTF adhesive powder, heat press machine and DTF ink, which aid in the smooth and efficient heat-pressing process.
2. Preparing the Design
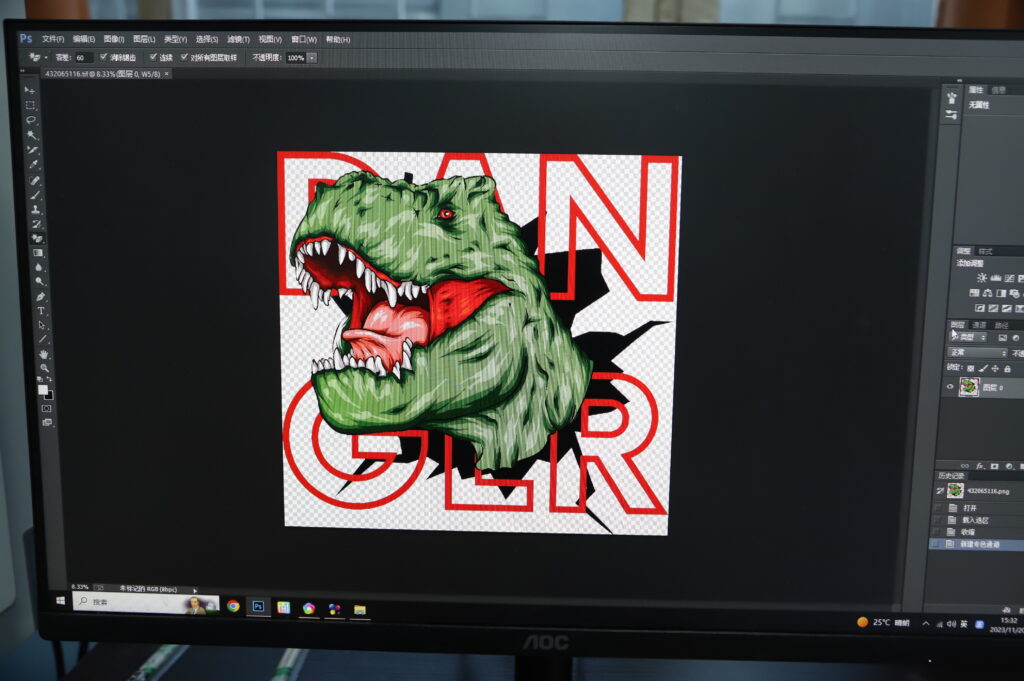
Before you can start heat pressing, it is essential to create or select a design suitable for DTF transfers. Utilize your creativity to design unique and captivating images that will leave a lasting impression. Ensure that the design is compatible with DTF printing and transfer it onto the transfer paper using a high-quality printer. Thoroughly analyze the design for any imperfections or distortions that may hinder the outcome.
3. Preparing the Garment
To achieve a flawless DTF transfer, meticulous preparation of the garment is key. Begin by thoroughly cleaning the garment to remove any dirt, dust, or debris that may hinder the adhesion process. Ensure that the garment is pressed and flat, as any creases or folds can negatively impact the final result. Ironing the garment before heat pressing can help create a smooth and even surface that promotes optimal transfer.
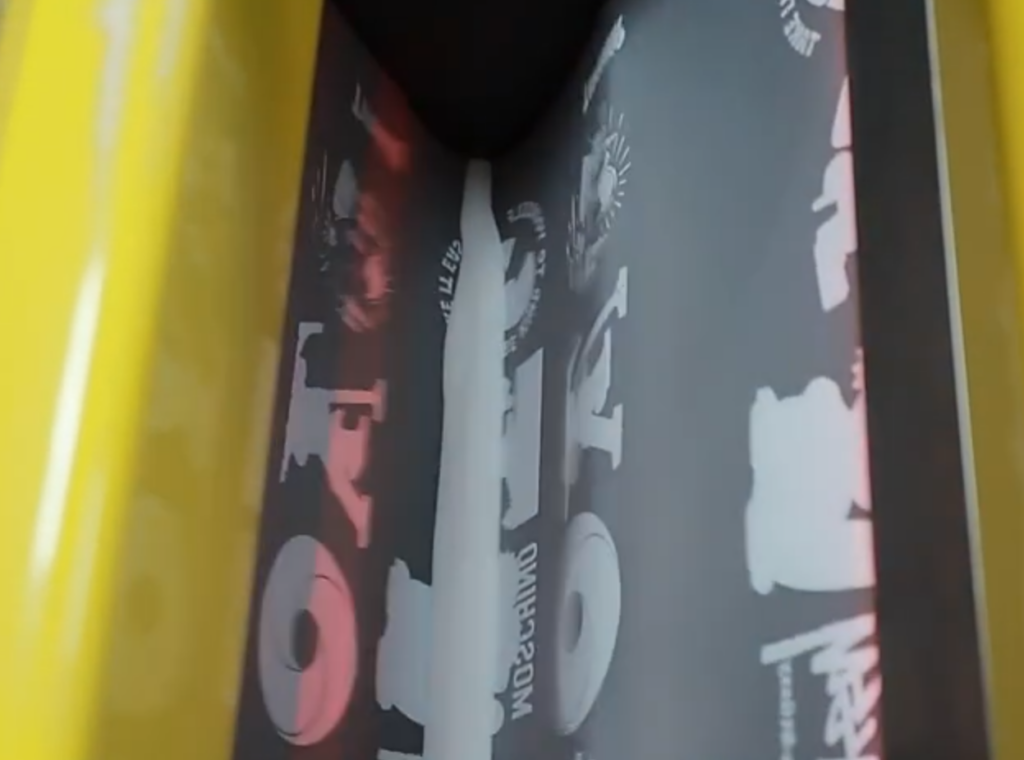
4. Printing the Transfer

Now that your design is ready and the garment is prepared, it’s time to embark on the DTF printing process. Begin by accurately calibrating the colors to ensure the desired outcome. Adjust the printer settings to match the requirements of DTF transfers. Depending on the printer and DTF transfer paper used, you may need to select a specific print mode or paper type to optimize the results. Experimentation is key to finding the perfect settings for your specific combination of printer and transfer paper.
5. Drying and Curing
After the DTF transfer is printed, it is essential to properly dry and cure the transferred image. This step ensures the longevity and durability of the print. Various methods can be employed for drying and curing, including air drying, using a heat press machine, or utilizing a professional curing chamber. Whichever method you choose, it is imperative to follow the manufacturer’s instructions and guidelines to achieve optimum adhesion and lasting quality.
6. Prepping the Heat Press Machine
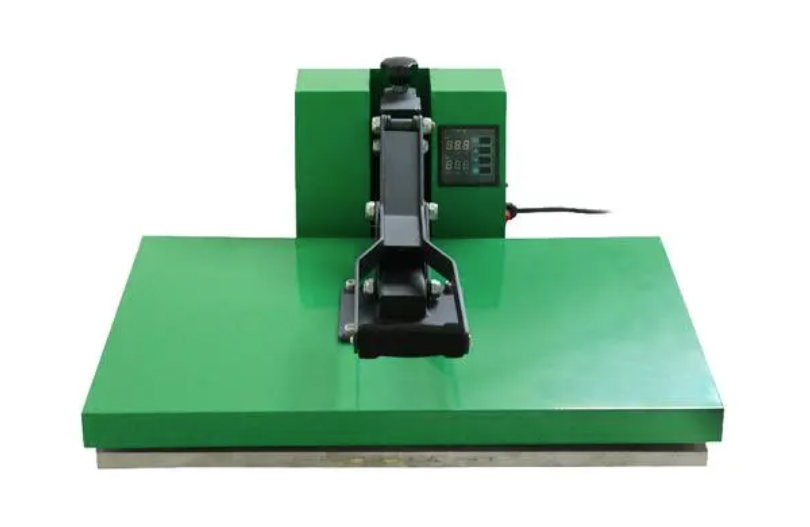
Due to the heat press machine plays a crucial role in heat pressing DTF transfers onto garments, you should look for a reliable and knowlegable heat press machine manufacturer to take a consult and get a heat press machine. Properly adjusting the machine settings is paramount to achieving remarkable results. Take the time to familiarize yourself with the heat press machine’s controls and settings, such as time, temperature, and pressure. These variables can significantly impact the final outcome of the transfer, so ensure that they are accurately calibrated for your specific requirements.
7. Heat Pressing DTF Transfer
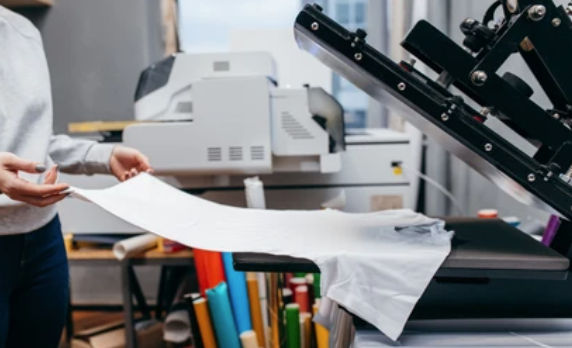
Now that everything is prepared, it’s time to dive into the heat-pressing process. Place the garment with the printed DTF transfer onto the heat press machine, ensuring that it is positioned correctly. Apply the appropriate temperature, time, and pressure settings, as per the transfer paper and garment specifications. Gently close the heat press, making sure the transfer film is in direct contact with the garment. Allow the machine to complete the pressing process, and carefully remove the transferred garment.
8. Post-Pressing and Finishing
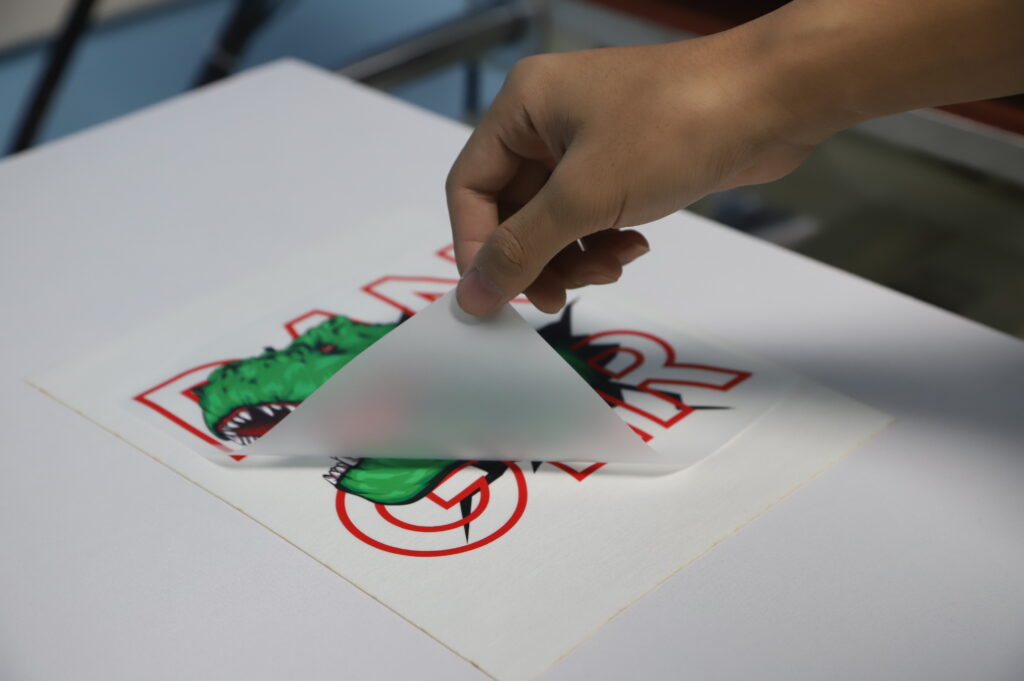
Once the heat pressing is complete, it’s important to follow the appropriate post-pressing steps to enhance the appearance and longevity of the DTF printed garment. Begin by carefully peeling off the transfer film, ensuring that the transferred image remains intact. Clean the transferred garment to remove any residue or excess ink using a gentle detergent. Finally, consider further enhancing the appearance and durability of the print by utilizing additional finishing techniques such as applying a protective coating or using a heat press machine for a second curing process.
FAQs of Common Issues
1. Why are my DTF transfers not adhering properly during heat pressing?
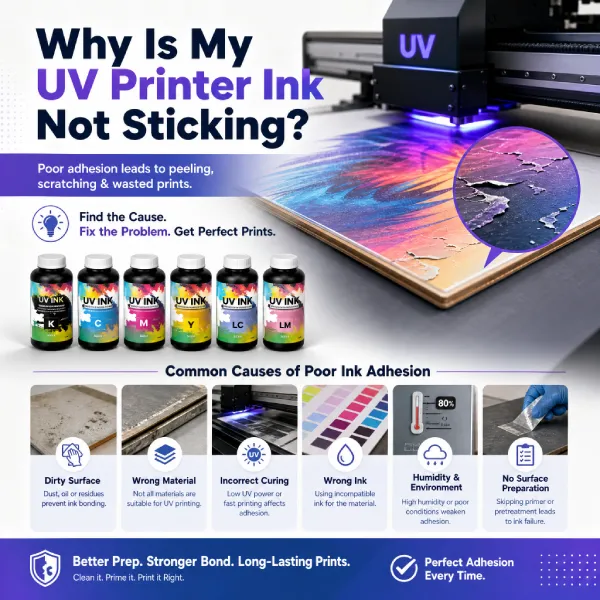
Troubleshooting adhesion issues with DTF transfers during heat pressing can be attributed to several factors. Ensure that the surface is clean and free from dirt, oils, or debris that may hinder adhesion. Also, pre-press garments to remove moisture and wrinkles. Adjust the temperature, pressure, and pressing time according to the transfer’s specifications. Lastly, if using a colored base layer, ensure proper curing or compatibility with the transfer film, as improper combinations may lead to adhesion problems.
2. How can I prevent colors from bleeding or smudging after heat pressing DTF transfers?
To avoid color bleeding or smudging issues after heat pressing DTF transfers, make sure the transfer film and the printed side of the transfer are in direct contact during pressing, preventing any movement. Adjust pressure, temperature, and pressing time according to transfer specifications. If colors still bleed, consider decreasing the pressure or increasing the pressing time. Remember, using high-quality transfer films and following the manufacturer’s instructions diligently can significantly minimize color bleeding or smudging.
3. My DTF transfers appear faded or lacking vibrancy after heat pressing; how can I improve this?
If DTF transfers appear faded or lack vibrancy after heat pressing, consider adjusting the temperature and pressing time. Increasing the temperature slightly or extending the pressing time by a few seconds may improve color vibrancy. Additionally, ensure that the transfer film is suitable for the substrate and transfer process. Following the film manufacturer’s instructions precisely, including recommended temperature ranges and pressing times, can result in vibrant and long-lasting transfers.
4. How can I prevent image distortion or blurriness on my DTF transfers during heat pressing?
To prevent image distortion or blurriness on DTF transfers, ensure both the transfer film and the substrate are properly aligned before heat pressing. Use registration marks or alignment guides to maintain accurate positioning. Avoid excessive movement or shifting while positioning the transfer film. Increasing the pressure during pressing can also help prevent movement, resulting in sharp and distortion-free transfers.
5. Why are there streaks or lines visible on my DTF transfers after heat pressing?
Streaks or lines on DTF transfers after heat pressing can indicate insufficient pressure or the presence of debris on the substrate. Ensure that the substrate is clean and free from any particles that may cause streaking. Consider increasing the pressure during pressing, ensuring proper contact between the transfer film and the substrate. Experimenting with different pressure settings can help to eliminate streaking and enhance the overall quality of the transferred image.
6. What should I do if my DTF transfers peel or crack after heat pressing?
Peeling or cracking of DTF transfers post-heat pressing can result from inadequate pressing time or temperature. Ensure that the heat press machine reaches the recommended temperature range specified for the transfer film. Adjust the pressing time accordingly, following the manufacturer’s guidelines. Additionally, double-check the compatibility of transfer film and substrate, ensuring they are suitable for one another. Proper curing through sufficient heat and pressure is essential for preventing peeling or cracking issues.
Conclusion
Mastering the art of heat pressing DTF transfers requires a comprehensive understanding of the process and the right materials and techniques. By following this step-by-step guide, you can unlock limitless possibilities and achieve remarkable results in the world of DTF transfer printing. Embrace your creativity, experiment with different approaches, and continuously enhance your skills to unleash your true potential in the realm of DTF transfers. Don’t hesitate any longer – dive in and let your imagination soar!