Whether you are printing custom t-shirts, créer des cadeaux personnalisés, or running a print-on-demand business, a heat press machine is one of the most important tools in your setup. But if you have never used one before, the combination of temperature, pression, and timing can feel overwhelming.
This guide covers everything you need to know — from understanding the different types of heat presses to step-by-step pressing instructions, settings by material, and how to fix the most common problems. By the end, you will be able to produce clean, durable transfers every time.
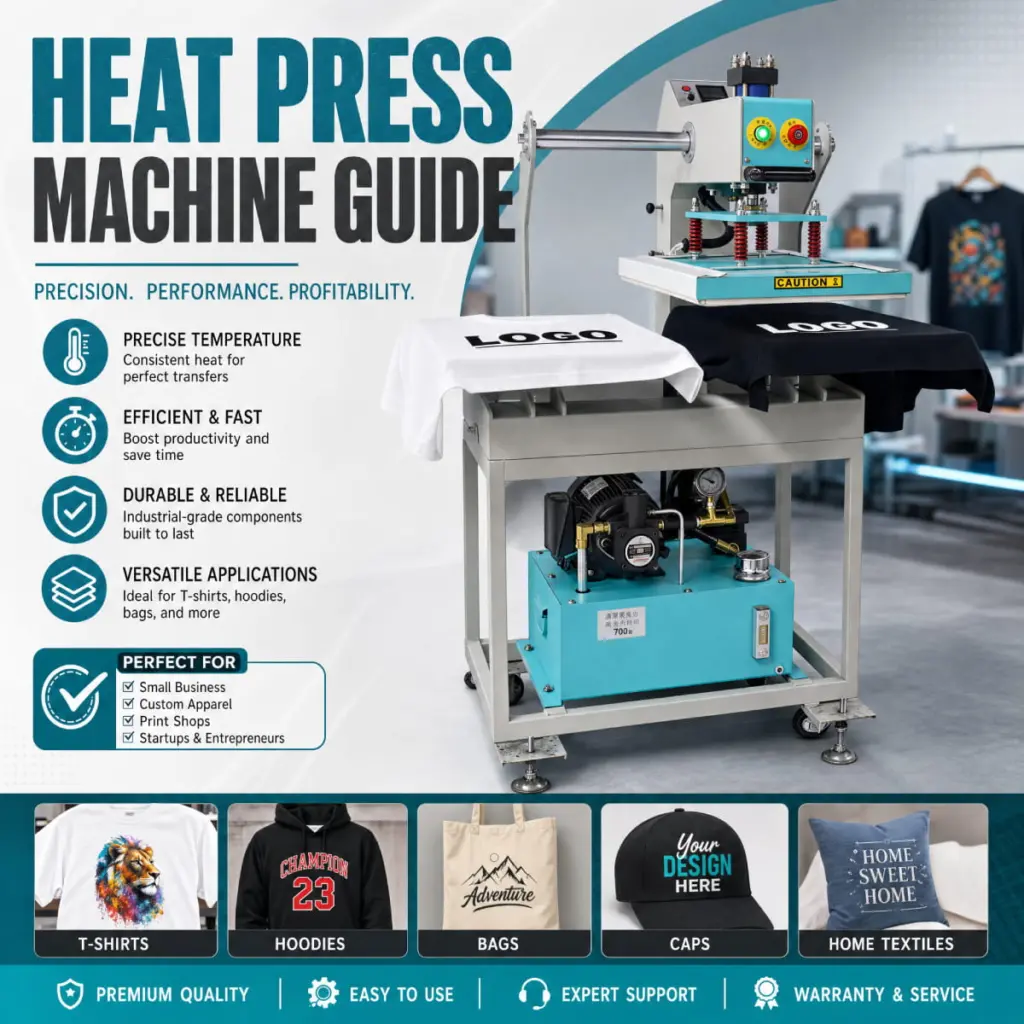
What is a Machine de presse à chaud?
A heat press machine uses a combination of heat, pression, and time to permanently transfer a design onto a substrate — typically fabric, but also hard surfaces like ceramic mugs, panneaux métalliques, et coques de téléphone.
Unlike a household iron, a heat press delivers consistent, even heat across the entire platen surface. It also applies uniform, adjustable pressure and uses a built-in timer so you can reproduce the same results every time. These three variables — heat, pression, and time — are referred to as the “three pillars” of heat pressing.
Heat presses are used with several types of transfer media:
- Vinyle de transfert thermique (VTH) — cut on a vinyl cutter, then pressed onto fabric
- Sublimation transfers — printed with sublimation ink onto transfer paper, then pressed onto polyester or polymer-coated substrates
- DTF (Direct-to-Film) transfers — printed onto PET film with a special ink system, then pressed onto virtually any fabric
- Screen print transfers — pre-printed transfers from a screen printer, activated by heat
Types of Heat Press Machines
Before you start pressing, it helps to understand which type of machine you are using. The three most common designs are:
Clamshell Heat Press
The most popular style for beginners and small businesses. The upper platen opens upward like a clamshell. It has a smaller footprint and is easy to operate, but the angle of opening can make it harder to position garments precisely. Best for flat items like t-shirts, sacs fourre-tout, and mouse pads.
Swing-Away Heat Press
The upper platen swings to the side, giving you full, unobstructed access to the lower platen. This makes positioning easier and reduces the risk of burns. Swing-away presses tend to be bulkier but are preferred by professionals for their accuracy. Ideal for sublimation work where precise placement matters.
Draw (Slide-Out) Presse chauffée
The lower platen slides out toward you like a drawer, so you can load garments without reaching under the hot upper platen. This is the safest option for production environments and high-volume printing.
Heat Press Settings by Transfer Type
The single biggest cause of failed transfers is incorrect settings. Use this reference table as a starting point, then adjust based on your specific materials and manufacturer guidelines.
| Transfer Type | Température | Temps | Pression | Peler |
| Sublimation (tissu) | 385°F / 196°C | 45–60 sec | Moyen | Hot peel |
| Sublimation (hard substrate) | 400°F / 204°C | 150–180 sec | Medium–firm | Hot peel |
| VTH (standard) | 305°F / 152°C | 10–15 sec | Moyen | Cold peel |
| VTH (puff / specialty) | 270°F / 132°C | 10 seconde | Light | Hot peel |
| DTF transfer | 320°F / 160°C | 15–20 sec | Firm | Cold peel |
| Screen print transfer | 350°F / 177°C | 8–12 sec | Moyen | Hot or cold (per instructions) |
Important: Always check the specific instructions from your transfer or ink manufacturer. The table above provides general starting points only.
What You Need Before You Start
Gather the following before your first press:
- Presse à chaud (clamshell, swing-away, or draw style)
- Transfer media (VTH, papier de sublimation, Film DTF, etc.)
- Substrat (vêtement, tasse, panel, sac, etc.)
- Teflon sheet or silicone pad — protects the garment surface and distributes heat evenly
- Heat-resistant tape — holds transfers in place during pressing
- Lint roller — removes debris from the substrate before pressing
- Heat-resistant gloves — for handling hot materials safely
- Thermomètre (facultatif) — to verify your platen temperature is accurate
How to Use a Heat Press Machine: Étape par étape
Étape 1: Set Your Temperature, Temps, and Pressure
Before turning on the machine, dial in the correct settings for your transfer type (refer to the table above or your transfer manufacturer’s guidelines). Allow the machine to fully preheat — most heat presses take 5 à 10 minutes to reach the set temperature. Do not start pressing until the display confirms the target temperature has been reached.
To set pressure, close the press on a folded towel that matches the thickness of your substrate. For most clamshell machines, turn the pressure knob clockwise to increase and counterclockwise to decrease. Medium pressure means you feel noticeable resistance when closing the handle.
Étape 2: Prepare Your Substrate
- Use a lint roller to remove any dust, fibers, or debris from the surface.
- Place the garment or substrate flat on the lower platen, smoothing out any wrinkles.
- Pre-press for 3–5 seconds to remove moisture and wrinkles. This step is especially important for sublimation printing, where moisture causes color issues.
- Allow the substrate to cool for a few seconds before placing your transfer.
Étape 3: Position Your Transfer
- Place the transfer face-down on the substrate (for most HTV and DTF transfers).
- For sublimation, place the printed side of the transfer paper facing down onto the substrate.
- Use a ruler or alignment marks to center the design.
- Secure the edges with heat-resistant tape if needed to prevent shifting during pressing.
- Place a Teflon sheet or parchment paper over the transfer to protect the design and the platen.
Étape 4: Press
- Lower the upper platen firmly and lock the handle (for clamshell presses).
- Start the timer. Do not lift the platen until the timer completes.
- When the timer goes off, lift the platen smoothly and in one motion. Avoid rocking or shifting the press.
Étape 5: Peel and Inspect
Whether you peel hot or cold depends on your transfer type (see the settings table). In general:
- Hot peel: Lift the transfer paper or film immediately while the substrate is still warm. Peel slowly at a low angle.
- Cold peel: Allow the substrate to cool completely to room temperature before peeling. Peeling too early causes designs to lift or stretch.
After peeling, inspect the transfer for complete adhesion. If any edges have lifted, re-press for an additional 5–10 seconds with a Teflon sheet on top.

Common Mistakes and How to Fix Them
| Problème | Cause probable | Fix |
| Design is faded or washed out | Temperature too low, or time too short | Increase temperature by 5°F or add 5 seconds and re-press a test piece |
| Design is cracked or scorched | Temperature too high, or time too long | Reduce temperature by 10°F. Do not re-press scorched transfers |
| Design shifted during pressing | Transfer not secured before pressing | Use heat-resistant tape to anchor all edges before pressing |
| Uneven transfer — patchy areas | Uneven platen pressure, or wrinkled substrate | Check pressure calibration; pre-press to remove wrinkles; use a foam pad on lower platen |
| Color looks different from design file | Color profile mismatch in sublimation printing | Use an ICC color profile for your printer and paper combination |
| HTV not adhering after washing | Insufficient pressure or time during pressing | Increase pressure; confirm time settings; wash inside-out in cold water |
| Ghost image (double impression) | Transfer paper moved before it cooled | Press firmly and hold the substrate still while peeling; peel in one smooth motion |
Pro Tips for Better Results
- Always do a test press on scrap material before pressing on your final product. This lets you verify settings without risking waste.
- Use a platen thermometer to verify your machine’s actual temperature. Many heat presses run 5–15°F hotter or cooler than the display reads.
- Replace your Teflon sheet when it starts to discolor or show staining. A dirty sheet can transfer marks to your garment.
- For sublimation, always pre-press the substrate for 3–5 seconds to remove moisture. Even small amounts of moisture can cause color shifts and cloudy prints.
- When pressing multiple items with the same settings, allow the press to return to full temperature between each press cycle.
- Store HTV and sublimation transfer paper flat and away from direct sunlight to prevent pre-activation.
Questions fréquemment posées
Can I use a heat press on any fabric?
Non. Different transfer types require specific fabrics. Sublimation requires polyester (80%+ content) or polymer-coated surfaces. HTV and DTF transfers can be used on cotton, polyester, et tissus mélangés. Always check the transfer manufacturer’s fabric requirements.
How long do heat press transfers last?
Lorsqu'il est appliqué correctement, heat press transfers are very durable. DTF and sublimation transfers can withstand 50+ wash cycles without significant fading. HTV may start to show wear after 40–50 washes depending on the vinyl type and care instructions. Always wash printed garments inside-out in cold water and avoid tumble drying on high heat.
How much pressure should I use?
Most transfers require medium pressure. As a general guide: light pressure means the handle closes easily with minimal resistance; medium pressure feels like a firm handshake; heavy pressure requires significant effort to close. When in doubt, start at medium and adjust based on results.
Do I need a Teflon sheet every time?
For most pressing applications, Oui. A Teflon sheet protects both your garment and the platen from direct contact, distributes heat evenly, and prevents ink from sticking to the upper platen. Some specialty sublimation papers include a protective coating that reduces the need for a Teflon sheet, but using one is still recommended.
Ready to Start Pressing?
A heat press machine is one of the most versatile tools for custom printing — and with the right settings and technique, the results speak for themselves. Whether you are just starting out or scaling up production, Xinflying offers a range of professional heat press machines designed for both home and commercial use.
Browse our heat press machine collection to find the right model for your projects, or contact our team for a recommendation tailored to your setup.