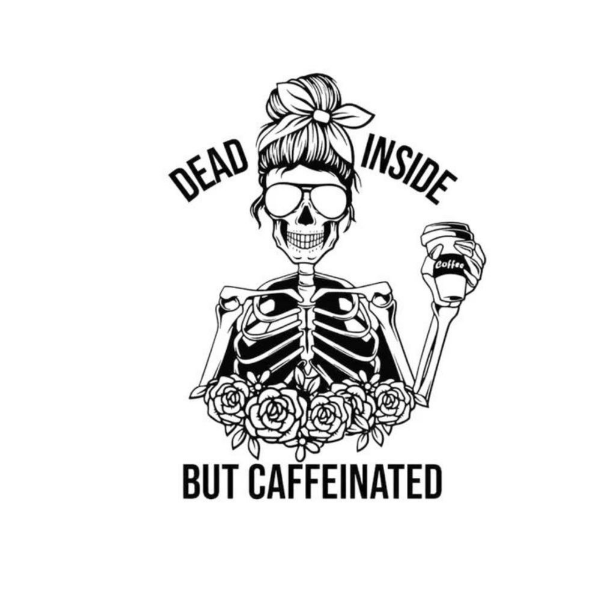
The “Dead Inside but Caffeinated” or “Dead Inside but Still Horny” t-shirt is a sardonic and humorous clothing item that reflects the wearer’s state of mind. It combines the contradictory feelings of being emotionally detached or devoid of motivation while surviving on copious amounts of caffeine or experiencing an insatiable sexual desire. This unique juxtaposition of emotions creates a witty and thought-provoking statement that resonates with individuals who possess a sarcastic sense of humor.
In this blog, we will delve into the fascinating world of DTF printing and how it can be used to create a “Dead Inside but Still Caffeinated or horny” t-shirt. By the end of this article, you will have gained valuable insights into the process and be able to unleash your creativity to design unique and quirky t-shirts.
Understanding DTF Printing
What is DTF Printing?
DTF printing, short for Direct-To-Film printing, is an innovative technique that allows for high-quality and vibrant prints on various fabrics, including t-shirts. Unlike traditional methods such as screen printing or DTG printing, DTF printing transfers the design directly onto the fabric using a heat press, resulting in excellent color saturation and durability. And what is DTF t-shirt printing? It a technique to diy t-shirt printing with DTF printer.
Benefits of Using DTF Printing for T-shirt Design
- Superior color vibrancy: DTF printing offers vibrant and bold colors that truly pop, allowing your design to stand out.
- Versatility: DTF printing can be used on multiple fabric types, making it ideal for designing t-shirts of different materials and styles.
- Long-lasting prints: The direct transfer of ink onto the fabric ensures that the design remains intact despite regular washing and wearing.
DTF VS DTG Printing VS Screen Printing
While screen printing and DTG printing have their merits, DTF printing provides a unique set of advantages. Screen printing requires extensive setup and is better suited for larger production runs, whereas DTG printing offers intricate detailing but falls short in terms of color vibrancy and durability. DTF printing strikes a balance between these techniques, delivering exceptional quality and longevity with remarkable color saturation.
Gathering Materials and Equipment
1. High-quality t-shirt blanks
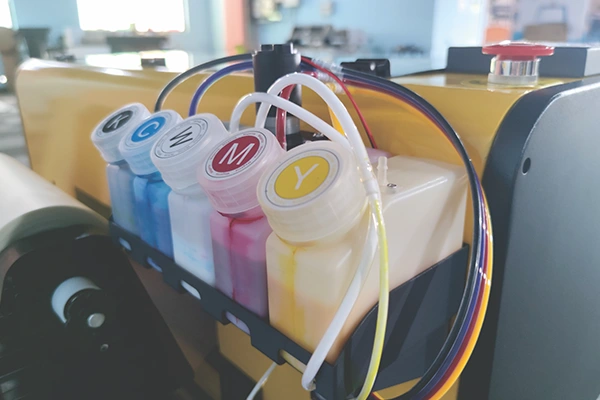
2. DTF printer & Heat press machine
3. DTF film, powder and ink
High-quality T-shirt Blanks
To ensure optimal results, it is essential to start with high-quality t-shirt blanks that provide a smooth and even surface for the design. Choose blanks that are specifically designed for DTF printing to guarantee superior adherence and color retention.
DTF Printer & Heat Press Machine
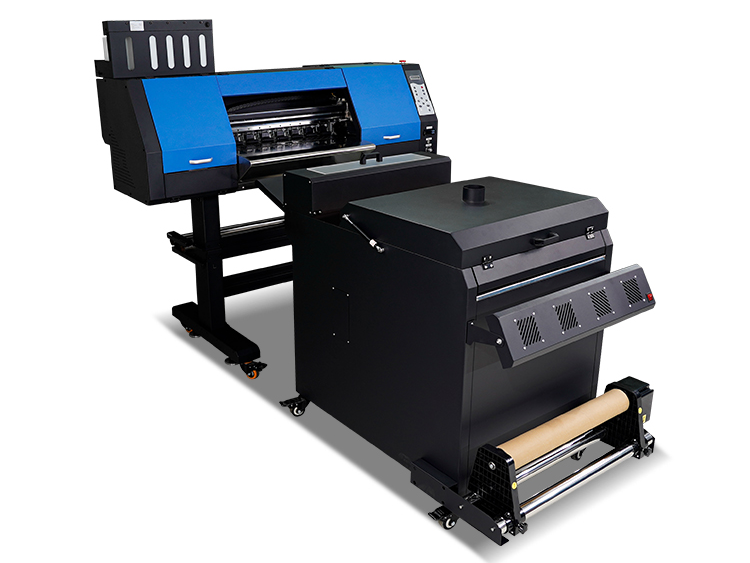
Invest in a reliable DTF printer that can handle your printing needs. Research different models and choose one that offers high-resolution printing and compatibility with various DTF films and inks from fabric printer manufacturer. Besides, a heat press machine is essential for transferring the design from the DTF film onto the t-shirt. Choose a machine that provides consistent temperature and pressure for a flawless outcome.
DTF Film, DTF Adhesive Powder & DTF Ink
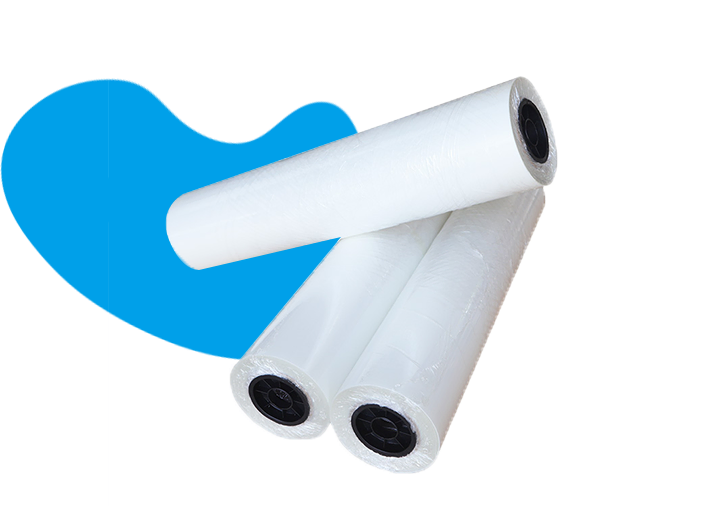
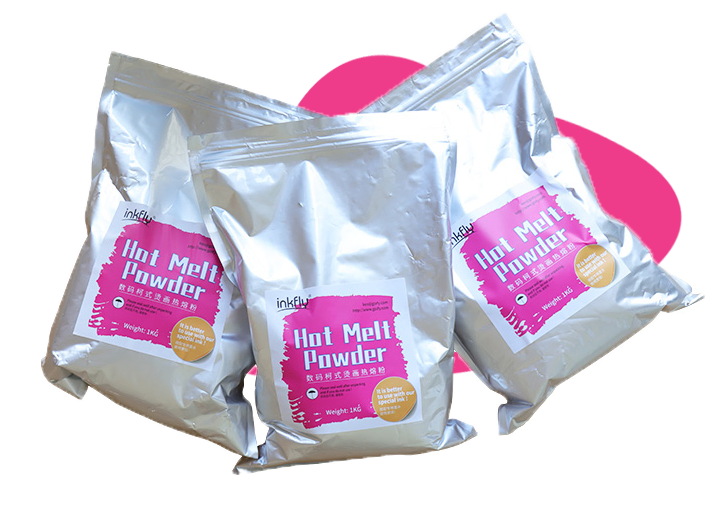
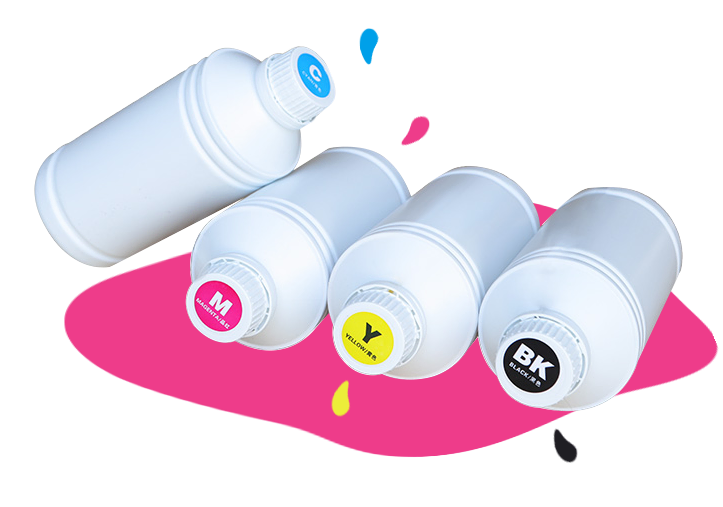
Select DTF films, DTF adhesive powder and inks that align with your design requirements. Consider factors such as color saturation, washability, and compatibility with your DTF printer.
Step 1: Preparing Your Design

source: pinterest
When selecting a design for your “Dead Inside but Caffeinated” t-shirt, aim for a visual representation that captures the essence of both emotions. This can be achieved through clever typography, symbolic graphics, or a combination of both.
To facilitate the design process and achieve optimal results, it is recommended to use RIP (Raster Image Processor) software specifically designed for DTF printing. RIP software enhances color management, provides precise control over ink deposition, and ensures compatibility between your design and the DTF printer.
Step 2: Preparing the DTF Printer
Setting Up the DTF Printer Correctly
Follow the DTF printer manufacturer’s instructions to set up your DTF printer correctly. This includes connecting it to your computer, installing any necessary drivers, and ensuring that the printer is calibrated for accurate color reproduction.
Loading the DTF Film and Ink Cartridges
Refer to the printer’s manual to load the DTF film and ink cartridges correctly. Ensure that the film is properly aligned and that the ink cartridges are securely fitted to prevent any issues during printing.
Step 3: Printing Your Design
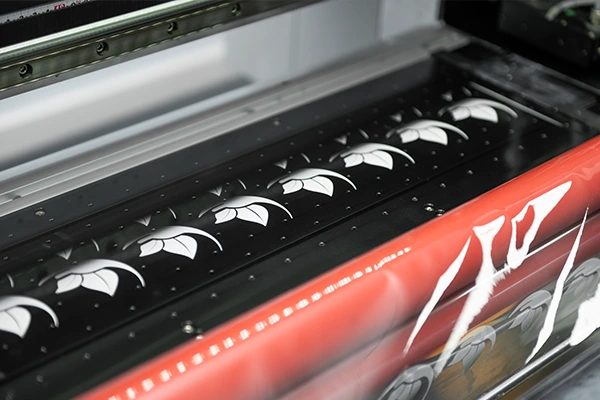
Now that everything is set up and prepared, it’s time to bring your design to life with the DTF printer. Follow these step-by-step instructions for smooth printing:
- Open the RIP software and select the design file.
- Adjust print settings such as size, color management, and print density.
- Load the t-shirt onto the printer’s platen, ensuring that it is positioned correctly.
- Start the printing process and monitor for any potential issues.
- Allow the print to fully dry or apply DTF adhesive powder evenly on the PET film to dry the graphics before proceeding to the next step.
Step 4: Applying the Design to the T-shirt


source: pinterest
Preparing the T-shirt for rinting
Ensure that the t-shirt is clean and free from any wrinkles or creases. Position it on the heat press machine’s platen to ensure a smooth and flat surface for the transfer.
Step-by-Step Guide for Using a Heat Press Machine
How to apply dtf transfers to shirts?
- Set the heat press machine to the recommended temperature and time settings for DTF printing.
- Place the printed DTF film face down onto the t-shirt, aligning it with the desired placement.
- Close the heat press machine and apply the appropriate pressure.
- Follow the recommended time duration for transferring the design onto the fabric.
- Open the heat press machine and carefully remove the t-shirt.
Removing the DTF Film After Heat Pressing
Allow the t-shirt to cool down before removing the DTF film. Peel off the film gently while ensuring that the design has transferred completely onto the fabric. If any parts appear stuck, apply slight pressure to remove them without damaging the print.
Conclusion
In conclusion, the process of creating a “Dead Inside but Caffeinated or horny” t-shirt using DTF printing can be an exciting and rewarding endeavor. Armed with the knowledge of DTF printing, design considerations, and the necessary equipment, you can unleash your creativity and produce unique and visually striking t-shirts that reflect your unique sense of humor and personality. Embrace the power of DTF printing and let your imagination run wild.